How To Pluck Lace Frontal Wig & Create Baby Hair For Natural Hairline?
Want to get the natural hairline and make your lace frontal or lace wig invisible? Then pluck your lace wig or lace frontal hairpiece is required before wearing. In this guide, we will teach you how to quickly and correctly create a realistic hairline for your lace wigs.

What Is Plucking A Lace Wig or Lace Frontal (Closure)?
Pluck a wig actually refers to creating perfect baby hair and realistic hairline by pulling some small stands of hair and customize on the hairline part of a wig or lace frotal.
Why Should You Pluck Hairline For Lace Frontal Wigs?
As you see, around our natural hairline, there are some short soft baby hairs or thinner especially on the temples of your forehead, and this is the natural hair edge effect of the continuous growth of our hair. However, wigs and lace frontal (closures) are made with hair in same density and texture, which leave a unnatural hard hairline without baby hair. By plucking the hairline of the lace wig before install it on your head, you can customize the hairline more realistic, which will help you make your wearing wig more invisible.
Although in the current market, you can easily to buy human hair lace wigs and lace frontals with pre-plucked hairline and baby hair hairline, you will still need to do some pluck work for it since the the difference in the density requirements of the hairline for everyone. And you may want to create baby hair edges, while plucking is a part of to style the hairline.
So we do suggest plucking your lace wig or lace frontals before installing it, that's why we post this guide here to help you create lifelike baby hair and flawless hairline that perfectly matches your natural hair and makes the wig completely realistic.
How To Pluck Hairline & Create Baby Hair For Lace Wig?
In this guide, we are going to hopefully break down piece by piece and easy way of how you can pluck your lace wig, frontal or closure like a pro even if you are a beginner:
Step 1 - Fix Your Wig or Lace Frontal
First thing you want to do is secure your lace frontal wig to the mannequin head, you want to make sure you're using enough T pins to secure the lace because you don't want to risk ripping or tearing the lace while you are plugging the lace frontal closure.

Step 2 - Apply Some Styling Mousee or Foam To Hairline
Next, take some styling mousse or foam and apply that to the hairline and then brush the hair back and clip it back. To do this, you can adequately see the entire hairline on the frontal wig.
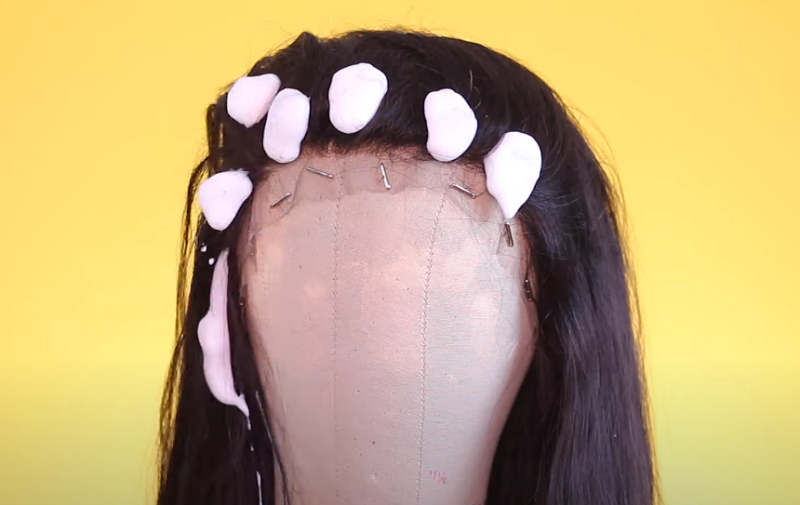
Step 3 - Create Your Hairline
Now you are going to be creating a hairline according to your own natural hairline, for example if you have natural hairline recedes at the temple area so that is exactly what you are going to create first on the frontal: Part small sections there where the temple area will lie on the frontal. After you have your little sections part, you want to eyeball the hairline and make sure it looks the way that you wanted to and it says even or uneven as you want it to be. Some frontals already come with a naturally shaped hairline, so you may not need this step.
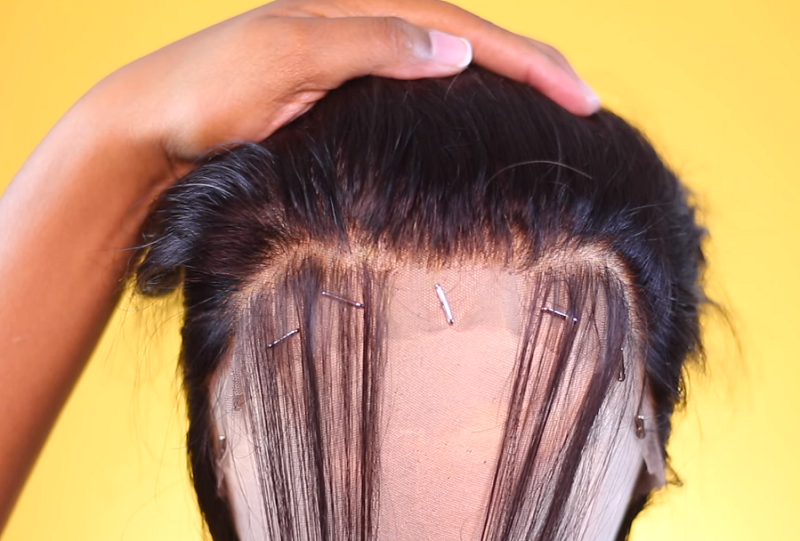
Step 4 - Pluck The Hair You Sectioned Off
Then, you're going to begin to pluck away the hair that you sectioned off. There is no method to this part, you just want to make sure that you pluck away all the hair that you sectioned off and you are grabbing close to the lace without actually grabbing the lace so that you don't cause any rips or tears. You're going to do is do the exact same thing on the other side, and then once you're finished this is your chance to just evaluate the hairline and see if you want to section off more hair and do a little bit more plucking.
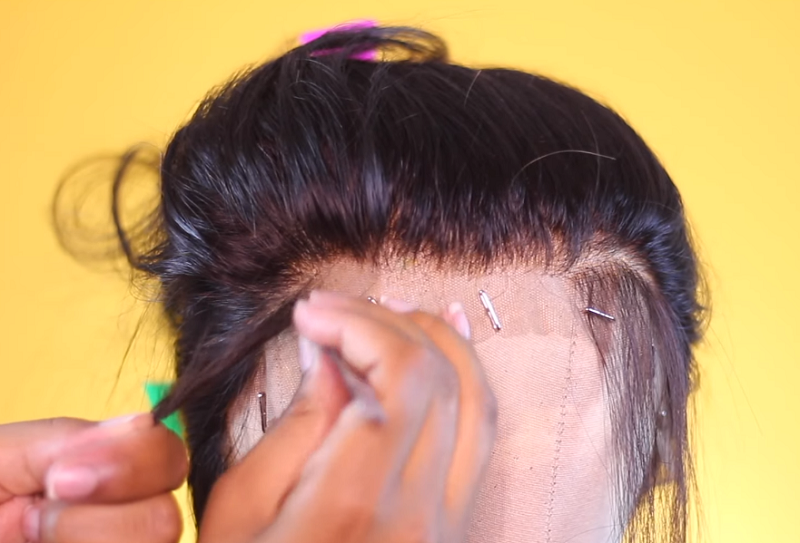
Step 5 - Thin Out The Hairline
Now we're going to get into the next step which is thinning out the hairline, so for this you are going to start on the side of the frontal and begin by parting about an inch back into the hairline. Then clip away the excess hair so that it stays out of the way while you do your plucking.
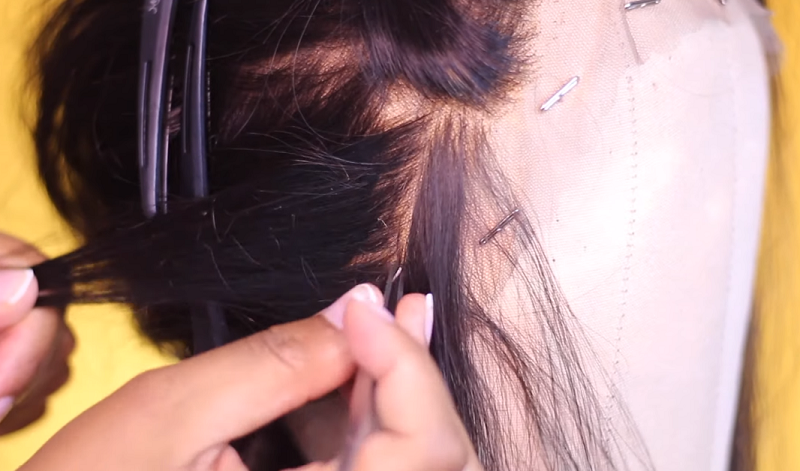
Now get into the plucking method:
1) Start at the top of the section that you parted off
2) Go ahead and pluck, move one to two millimeters down, pluck again, move one to two millimeters down, pluck again .... and just keep on repeating this step until you get to the end of the parted section.
3) Once you get to the end of that section, part a small line off of the area that you just plucked and then use the exact same plucking method on the next area that you just parted
4) When you are plucking and you're moving down, you should not be skipping over more than kind of three to four hairs at a time, millimeter sections are very small. So now you have a baseline for customizing your frontals in any deviation on the outcome is just based off personal preference.
5) Once you have finished plucking the section, you just take a look at it and see if it's as thin as you like it. If you like it a little bit thinner, you can go back through the section and do the exact same thing - part and pluck.
6) In terms of thinning the hairline that is all you need to know for this part of the method, you're just going to move around the hairline and sections. You are going to continue this method around the entire hairline of the frontal reap looking each section as much as you need to to achieve the desired thinness that you are going for.
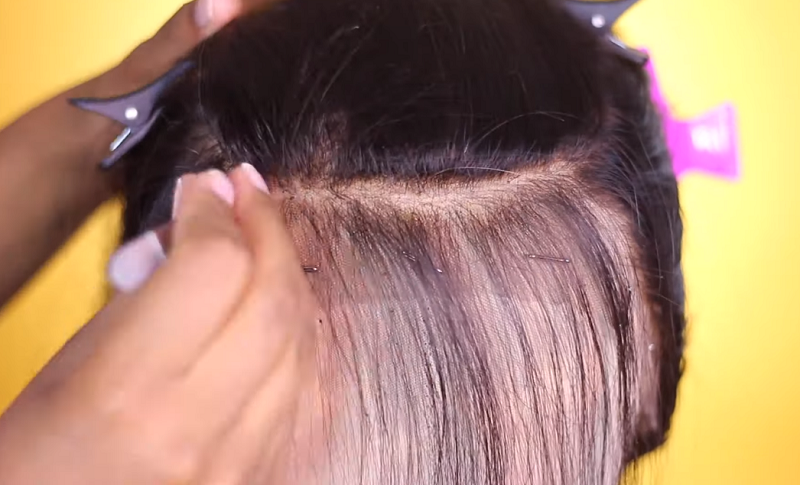
Step 6 - Customized The Hairline
Once you are finished plucking the frontal around the entire hairline, you are done with the thinning out step of this process, so the next step is going to be customizing:
1) Go back in with your mousse and apply this all over the hairline
2) Part of small sections around the hairline that you want to turn into baby hairs. This part is personal preference, if you prefer your deep wave wigs or hair line without baby hairs then you would just skip this step.
3) Once the baby hairs are parted and out of the way, go in and customize the hairline
4) Go in at the very front of the hairline and just pluck a little bit more to make the hairline look more realistic. This part is personal preference, so you can kind of put as much or as little as you want to. What we recommend as a beginner for this part is to either look at your own hairline for reference or just pick a picture of a hairline that you admire or a frontal you admire andtry to mimic that.
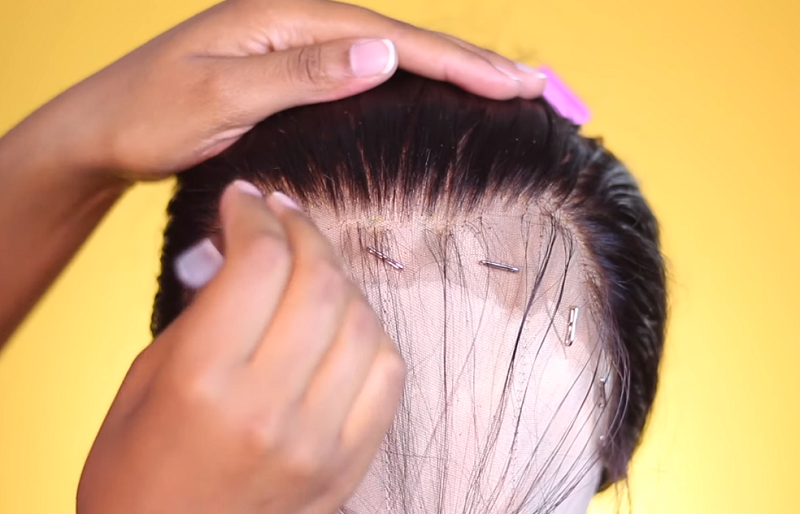
Step 7 - Lay Your Edges/Baby Hair
Now for the final step, if you did create some baby hairs is just cutting and forming some baby hairs around your hairline. Use razor comb to trim and leave 1 inch of baby hair to style later. Them use a spoolie brush or toothbrush with gel to comb the hair down and pull them into the desired direction, from intricate spirals, swirling pattern to natural swoop into your hairline, you can style baby hairs as your wish.
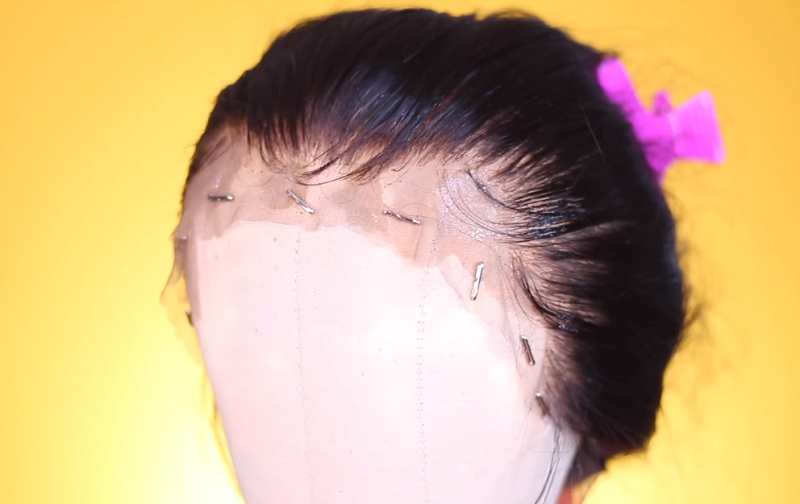
This method provides you with a sense of direction for your plucking instead of just plucking anywhere and everywhere on the frontal, we feel like as a beginner having a method to follow is going to provide you with better results in outcomes of customizing your frontal. Even as someone who has made many blonde lace front wigs and plucked many frontals or closures, our results were not consistent until we came up with this plucking method.

